The previous part of the MDT article series:
MDT Deployment & Administration. Part 2: Installing and Configuring MDT
After setting up and configuring WDS and MDT, you can move on to preparing the image obtained from the official .iso file. Copy the .wim file to the desktop of the MDT machine for further work. To import this image, right-click “Operating Systems” and click “New Operating System”. Then go to the desktop and add the OS from there. After that click “Finish”, because this will be useful later. Next, right-click “Task Sequences” and click “New Task Sequence”. A window appears with the task ID, its name, and a field for adding a comment.
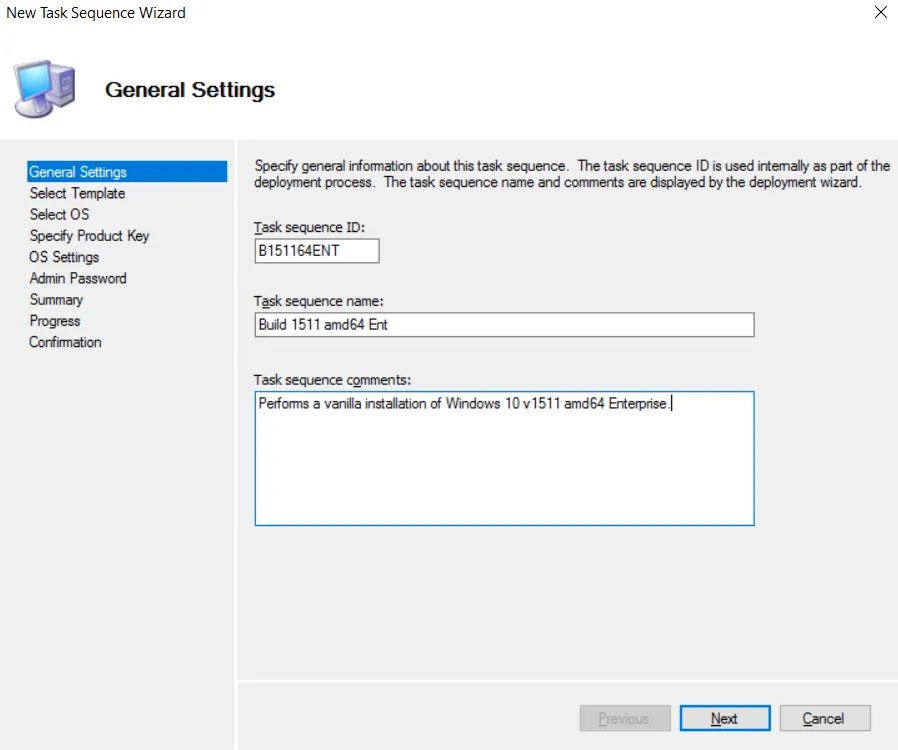
Everything here is left at its defaults. If you decide to make changes, do so only in the “Name” and “Comments” fields. Then click “Next”.
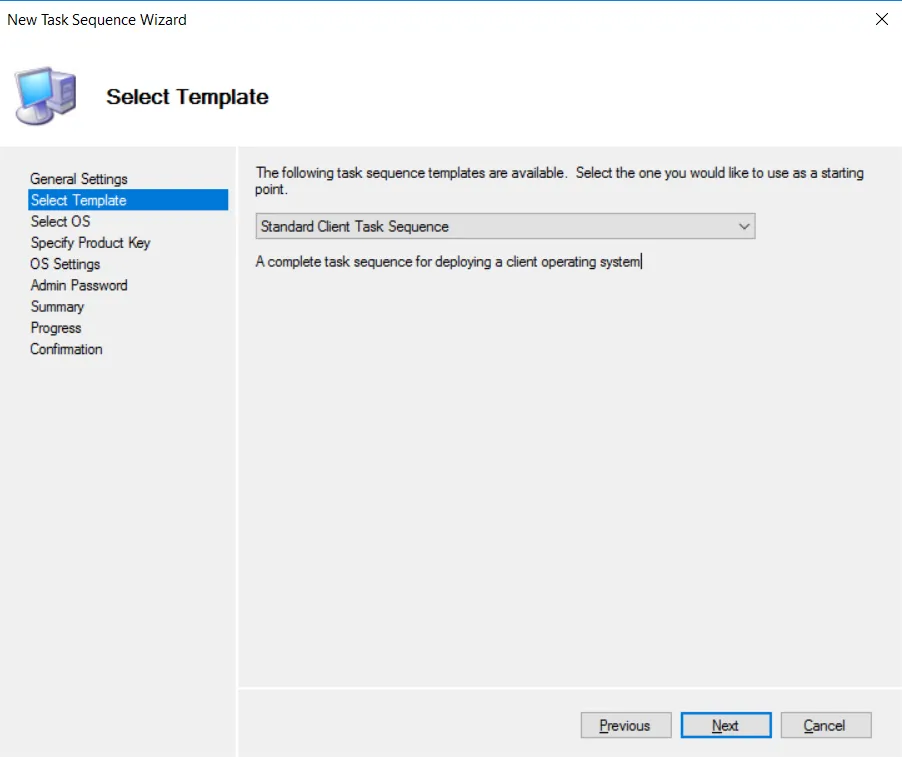
Here you can choose the type of our task. We leave everything at the defaults and again click “Next”, because creating a custom task requires deeper knowledge of how MDT works.
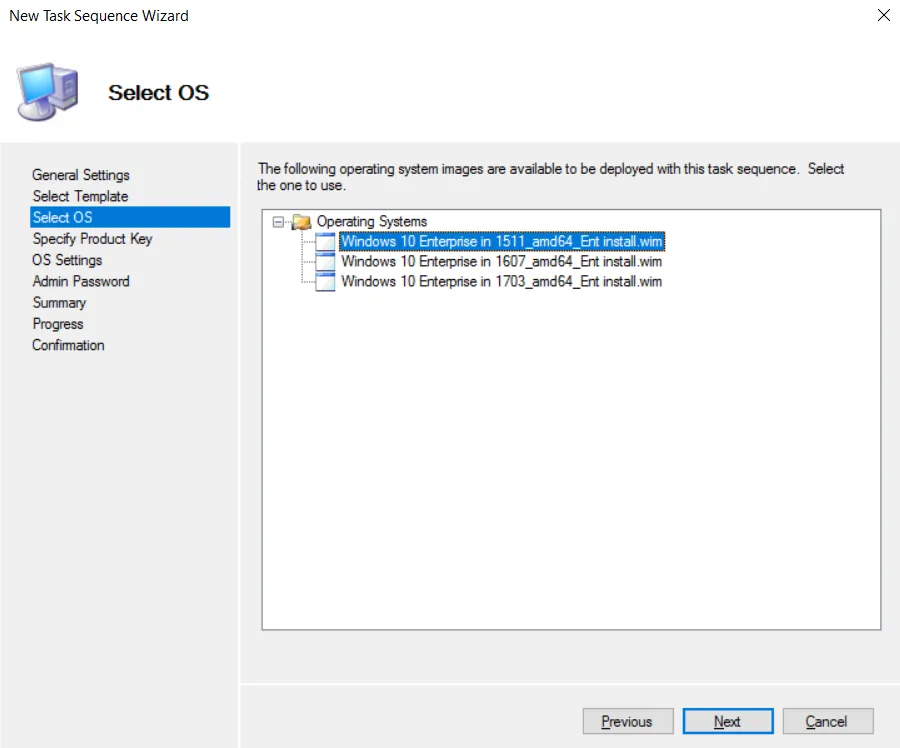
At this step we need to select the operating system that will be used in the LiteTouch image and in the subsequent installation. After selecting it, click “Next” again.

At this step you can enter a Windows activation key. If you have a corporate key, or one that isn’t distributed by MDM solutions, enter it here and click “Next” again to continue.
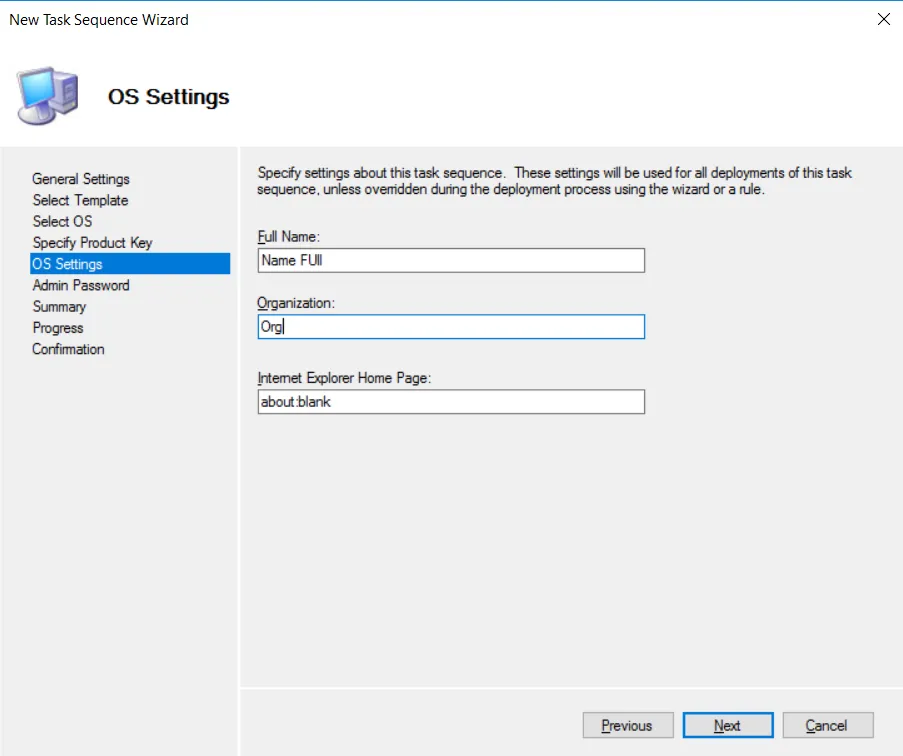
In this part of the configuration you can write the admin’s full name, their company name, and a link to, for example, the HelpDesk. Here I enter random values and click “Next”.
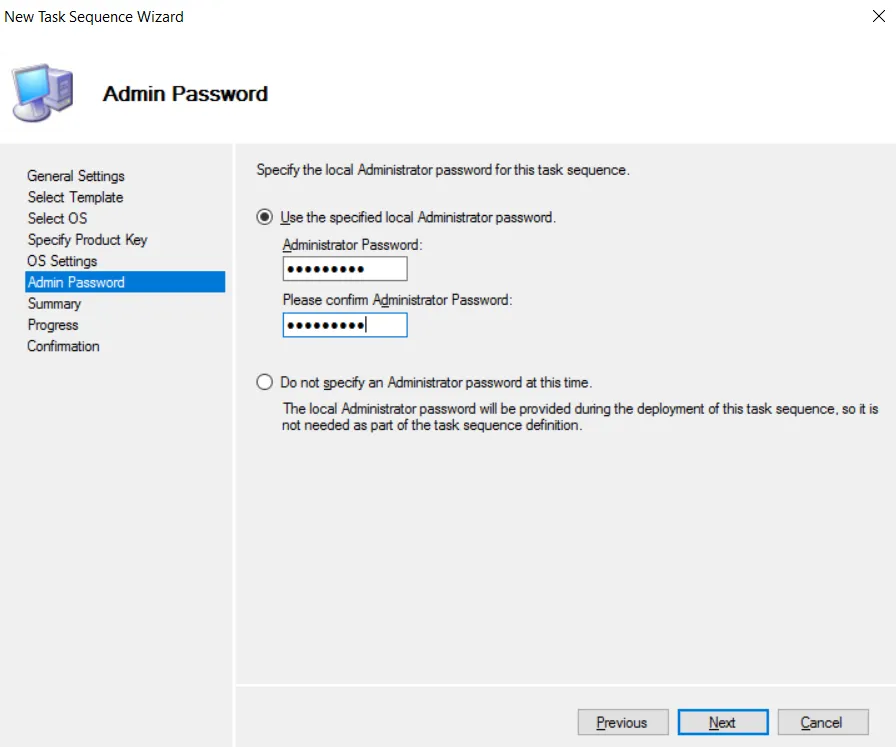
Here you need to come up with a secure password for the local administrator on the device where the operating system will be deployed. It’s advisable to use a password of at least eight characters that contains special characters, digits, and uppercase and lowercase letters. Then click “Next”.
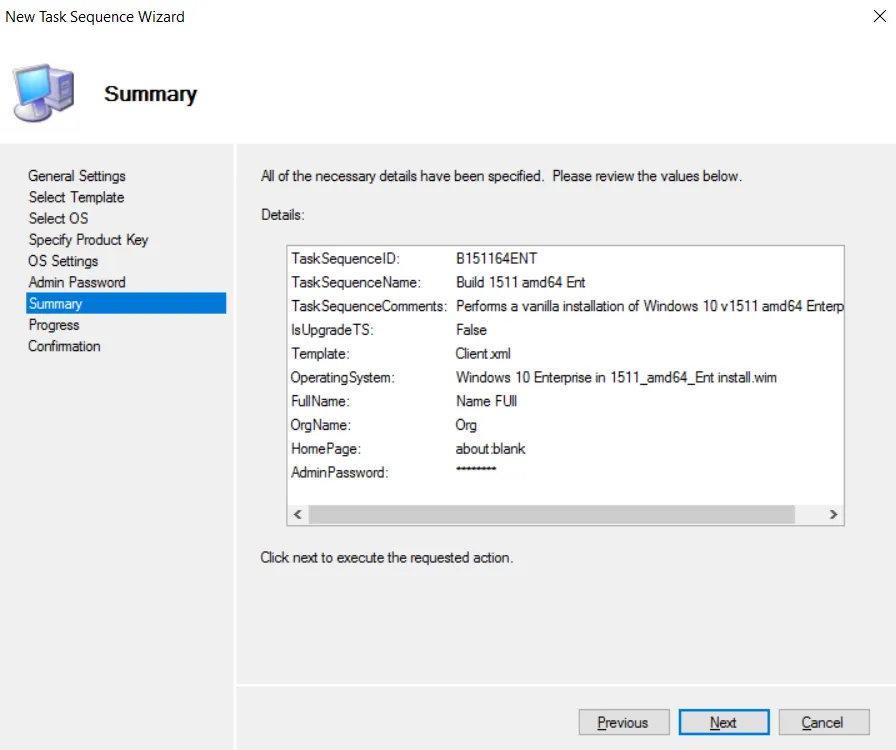
On this screen you can review the final result of the task configuration. Check it carefully to avoid any errors and click “Next”.
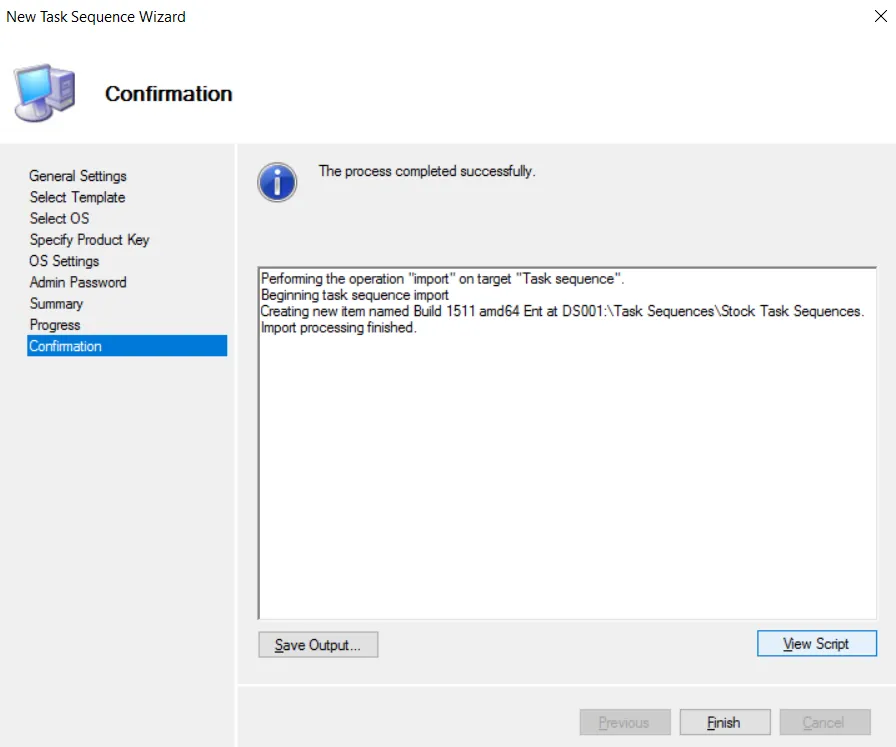
Then wait for the task configuration process to finish, and click “Finish” once it’s created successfully. Congratulations, you’ve configured your new task for OS deployment! For faster and more convenient deployment, the next article will cover more advanced MDT settings, such as Bootstrap.ini and CustomSettings. Thanks for reading! Hit the “Subscribe” button to get notified about new posts and leave your feedback in the comments.
P.S.
During further image building in MDT, the following error occurs:
=== Making sure the deployment share has the latest x86 tools ===
=== Processing LiteTouchPE (x86) boot image ===
Building requested boot image profile.
System.Management.Automation.CmdletInvocationException: Unable to open the specified WIM file. ---> System.Exception: Unable to open the specified WIM file. ---> System.ComponentModel.Win32Exception: The system cannot find the path specified
The workaround is to copy the amd64 folder (default path C:\Program Files (x86)\Windows Kits\10\Assessment and Deployment Kit\Windows Preinstallation Environment) and then rename it to x86