MDT (Microsoft Deployment Toolkit) is a tool that lets you automate the deployment of operating systems to computers across an enterprise. MDT is a far more convenient and faster way to deploy Windows, because it lets you embed drivers, applications, a pre-configured BitLocker, rename the device before deployment, and use other handy features thanks to the task sequence baked into the image.
MDT is always used together with WDS because of how convenient this combination is — it requires no third-party software and lets you stick to the built-in functionality of Windows Server.
MDT prerequisites:
- Windows Server 2019, as a more stable version of the server OS for running MDT;
- Windows ADK for Windows 10 version 1809. MDT relies on an older version of Windows ADK because of Microsoft’s tendency to introduce errors with each update for MDT;
After you install Windows Server 2019 on your machine, you’ll need to add the server roles WDS and DHCP (if you aren’t using a DHCP server outside the Windows machine, for example on a Mikrotik). WDS is used to deploy the image built in MDT over the network in a PXE environment — an environment for booting a computer via the network card without using local storage media. WDS uses the TFTP protocol to deploy the OS.
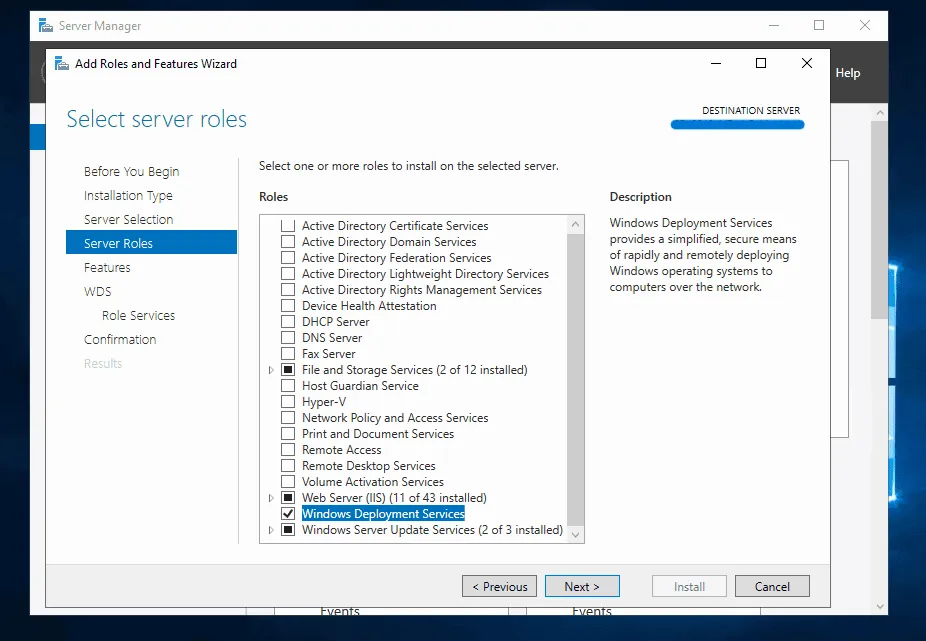
Selecting WDS when adding server roles
Before configuring WDS after its installation, you need to verify that the DHCP server is working. In this example the DHCP server is configured on a Mikrotik; you can ask your network engineer to set up the router for MDT or configure a DHCP server yourself on Windows Server.
After verifying the DHCP server works, the next step is to configure WDS. To do this, go to “Tools” - “Windows Deployment Toolkit”.
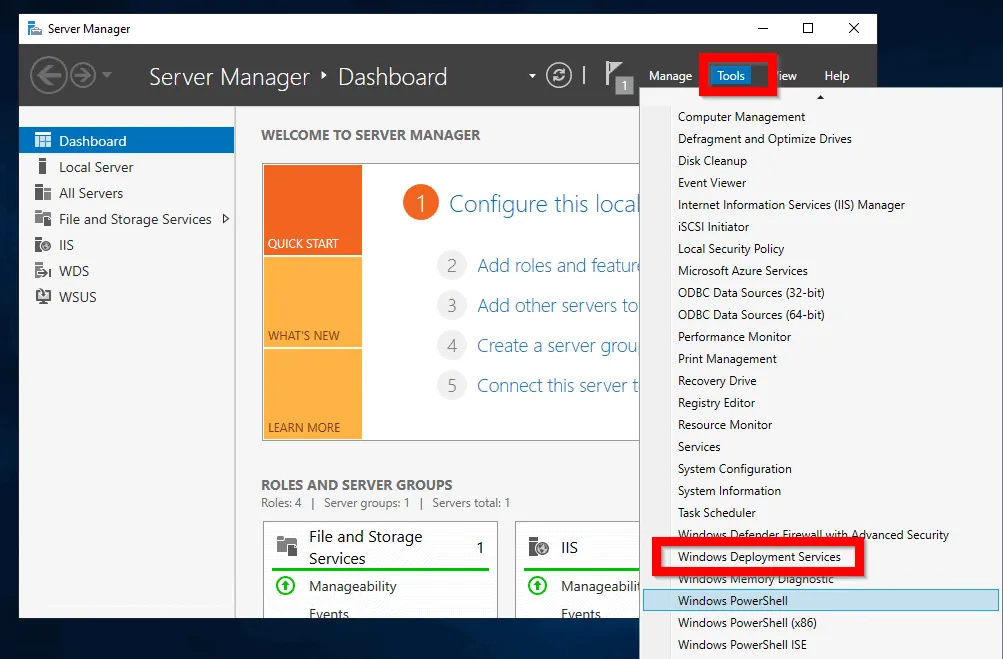
Opening WDS for configuration
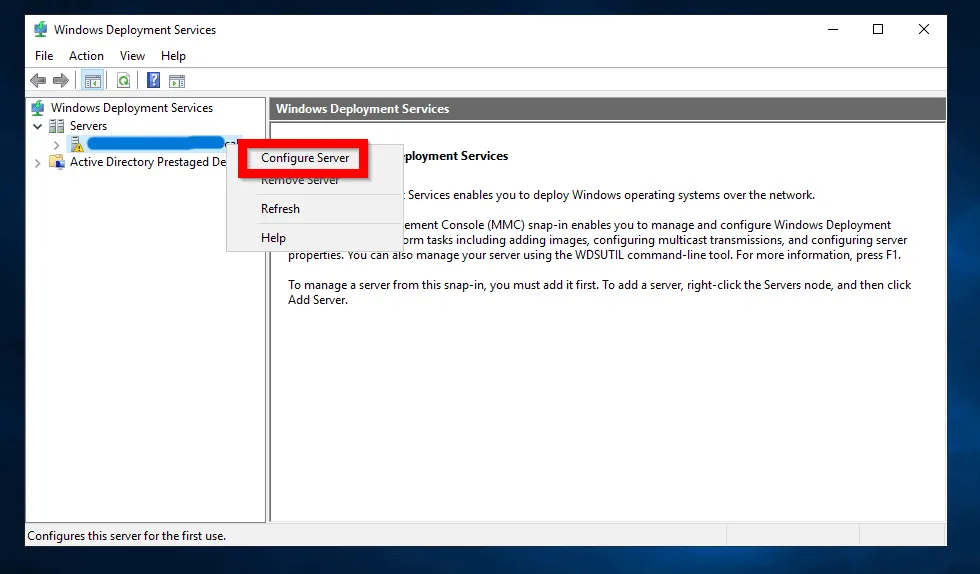
After opening the WDS console, expand the “Servers” category, right-click the WDS server, and then click “Configure Server”.
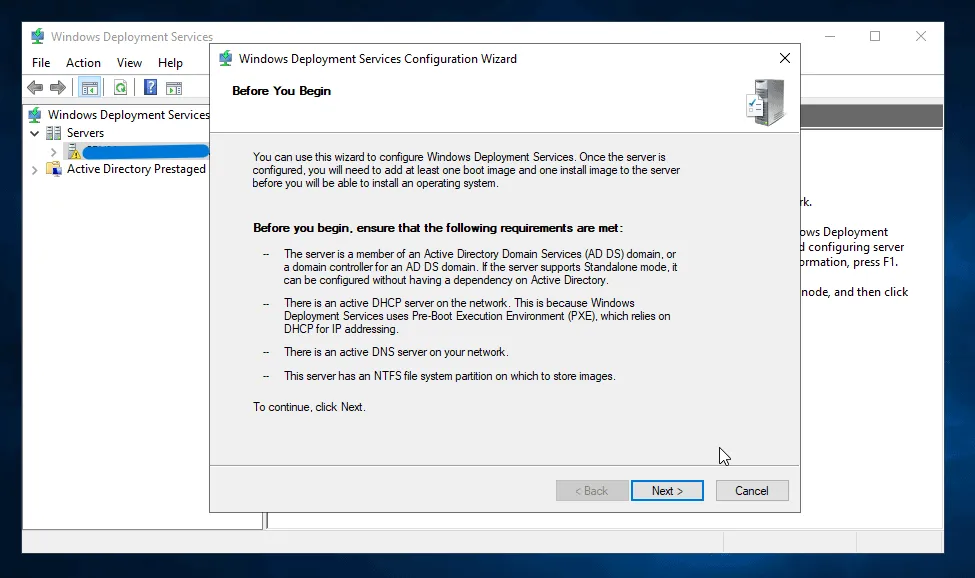
After clicking the button, a window pops up describing what is required to use WDS. Connecting to AD DS is optional, the DHCP server is already configured, and the DNS server is set up on the Mikrotik together with DHCP. Just click “Next”.
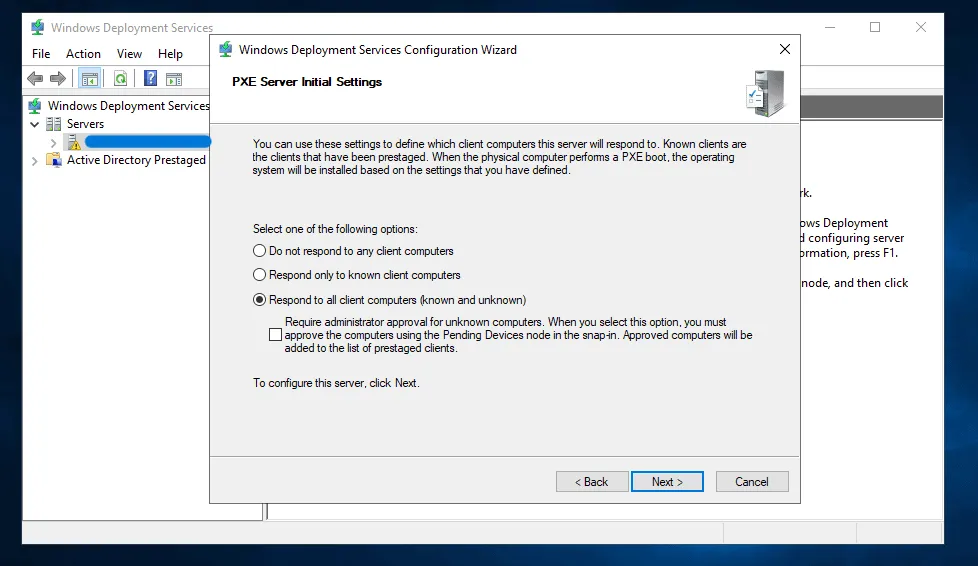
In this example WDS will not be connected to AD DS, so at the next stage you need to select “Standalone server” and keep pressing Enter until you reach the PXE configuration step. In the PXE settings, choose the option “Respond to all client computers (known and unknown)” to reduce the number of clicks and save time. This does not introduce any risk of system intrusion, since the operating system will be distributed over a LAN cable.
After clicking “Next”, you need to wait for WDS to be configured. This takes 1 to 2 minutes. Once the setup is complete, clear the “Add images to the server now” checkbox and click “Finish”. Congratulations, you have installed and configured WDS!
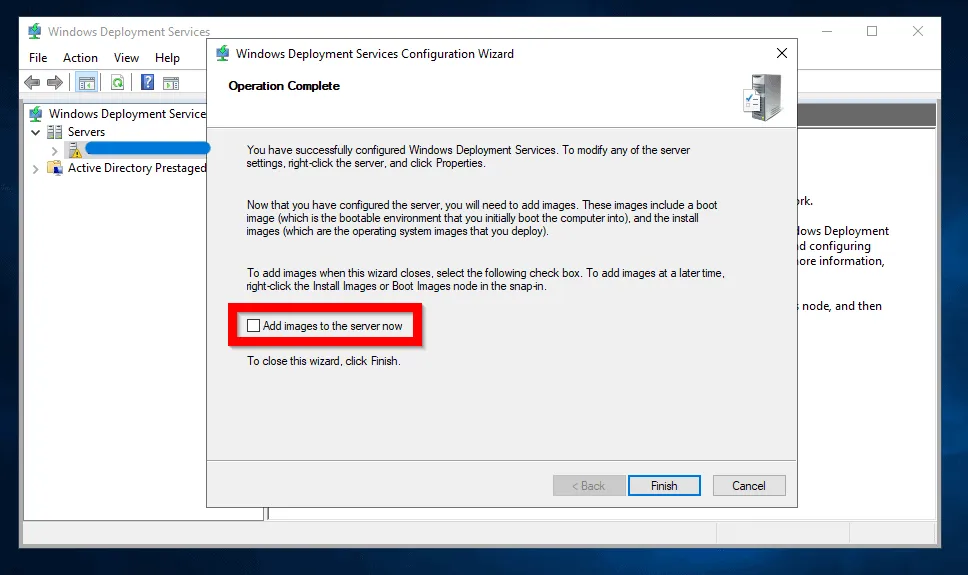
The final step of WDS configuration