Previous part:
MDT Deployment & Administration. Part 1: Installing and Configuring WDS
After successfully installing WDS on Windows Server, you need to obtain a .wim file from the official Windows image. You can download it from the official Microsoft website via the Media Creation Tool (users in Russia will need a VPN): https://www.microsoft.com/ru-ru/software-download/windows10.
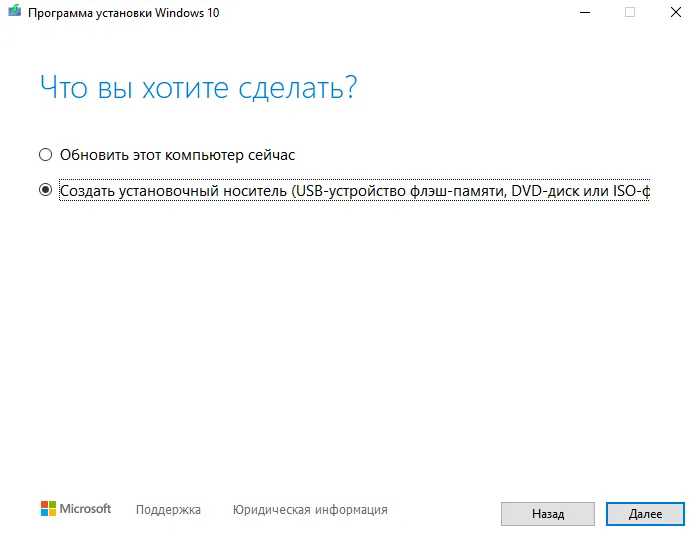
After downloading the Media Creation Tool, run it, wait for it to prepare, and accept the license terms. Then select “Create installation media” to produce an ISO.
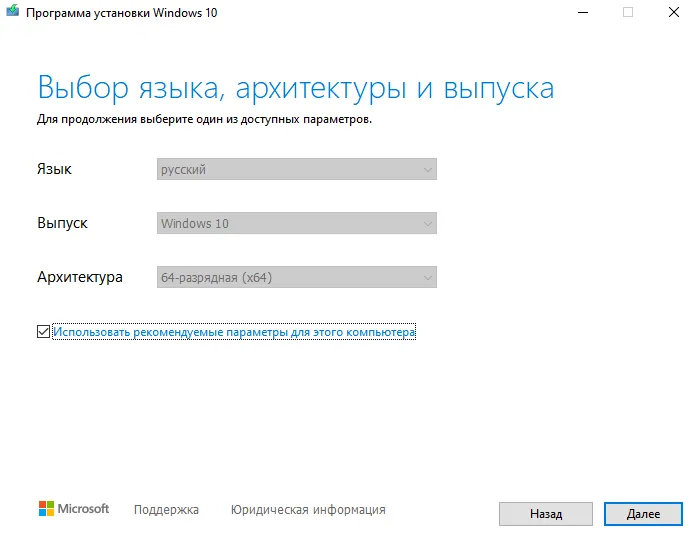
Then click “Next” and use the recommended options for this PC.
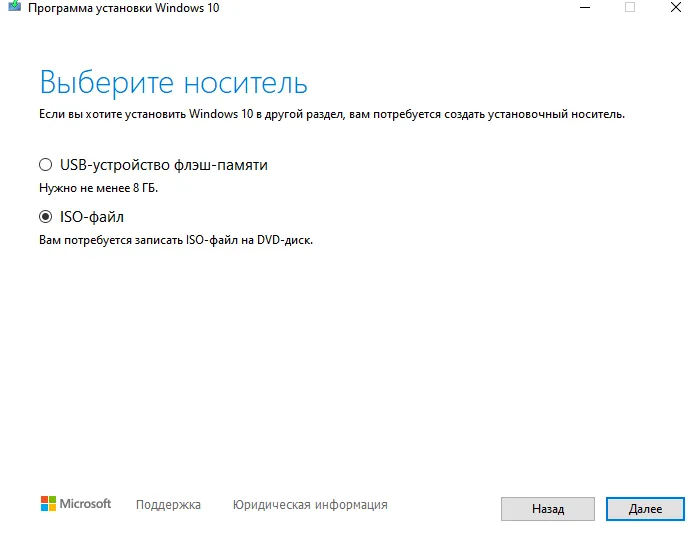
Next, choose “ISO file” as the media. Save it to a convenient location and wait for the Windows 10 image to be built.
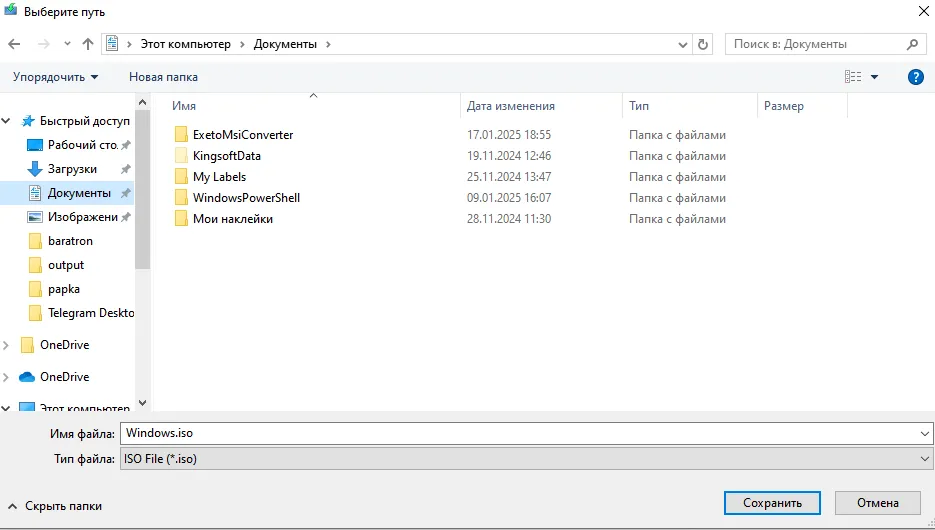
Then wait for the image to be created; this can take 10 to 30 minutes, depending on your disk and Internet connection speed. After downloading, open the ISO file like a regular executable to mount it.
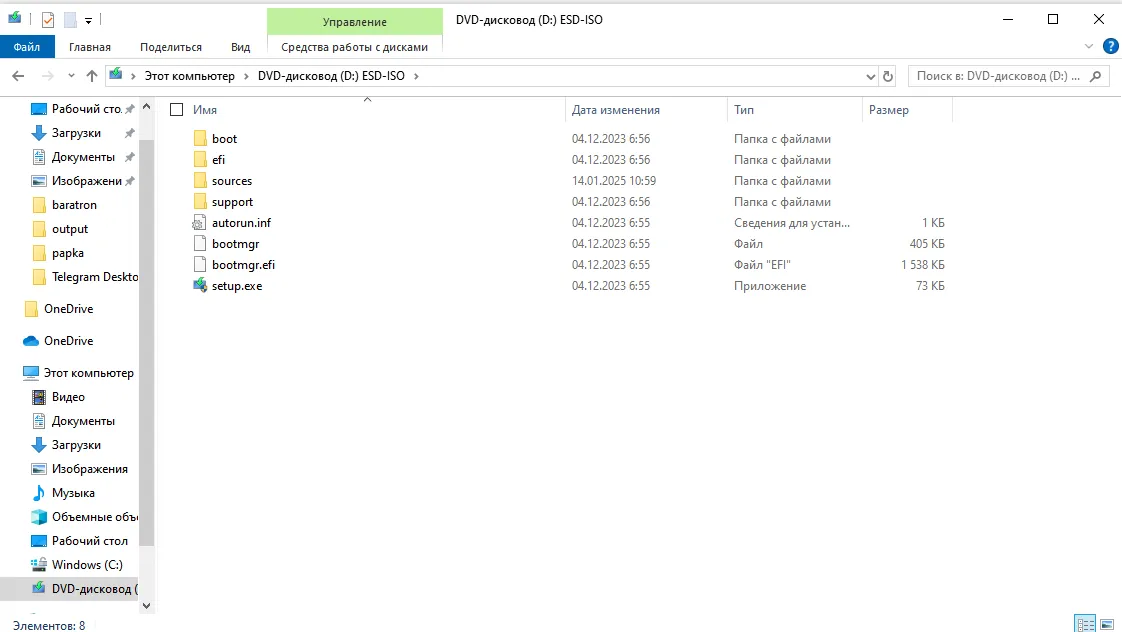
Inside the “Sources” folder there will be an install.wim or install.esd file, which is required for MDT to work. If the file has the .esd extension, you’ll need to convert it to .wim using a PowerShell command:
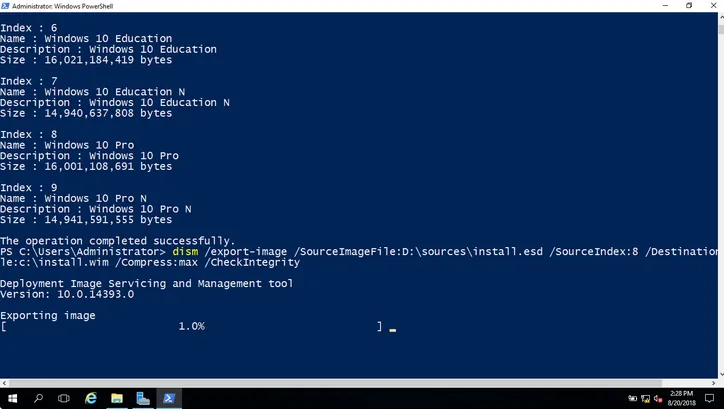
- First, let’s find out the existing Windows editions with the following command. After running it, the edition numbers are listed; of these we need Windows 10 Pro:
dism /Get-WimInfo /WimFile:D:\sources\install.esd
- Next, you need to convert the .esd into a .wim. For this example the command is:
Dism /Export-Image /SourceImageFile:D:\Sources\install.esd /SourceIndex:8 /DestinationImageFile:C:\install.wim /Compress:max /CheckIntegrity- Then wait for the file to be compressed and the .esd converted to .wim.
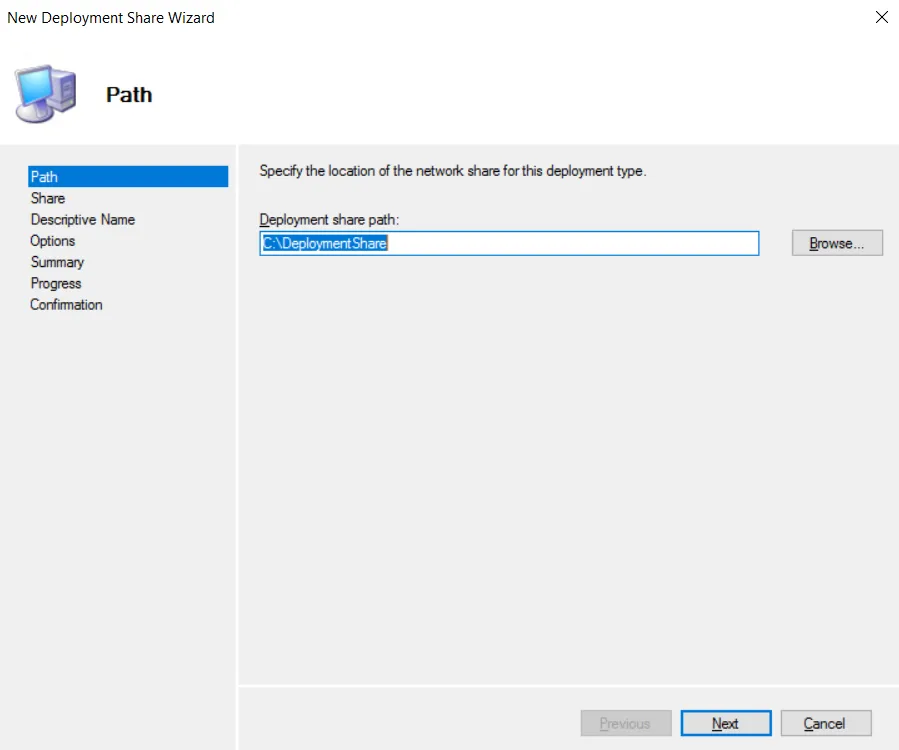
Once you have the install.wim file, you can go ahead and install MDT. For this you’ll need the installation package from the official Microsoft website: https://www.microsoft.com/en-us/download/details.aspx?id=54259. Run the downloaded file and follow the standard installation procedure. The installed MDT can be opened by searching for “Deployment Workbench”. Then right-click Deployment Shares and click “create a new Deployment Share”. You can leave the paths at their defaults.
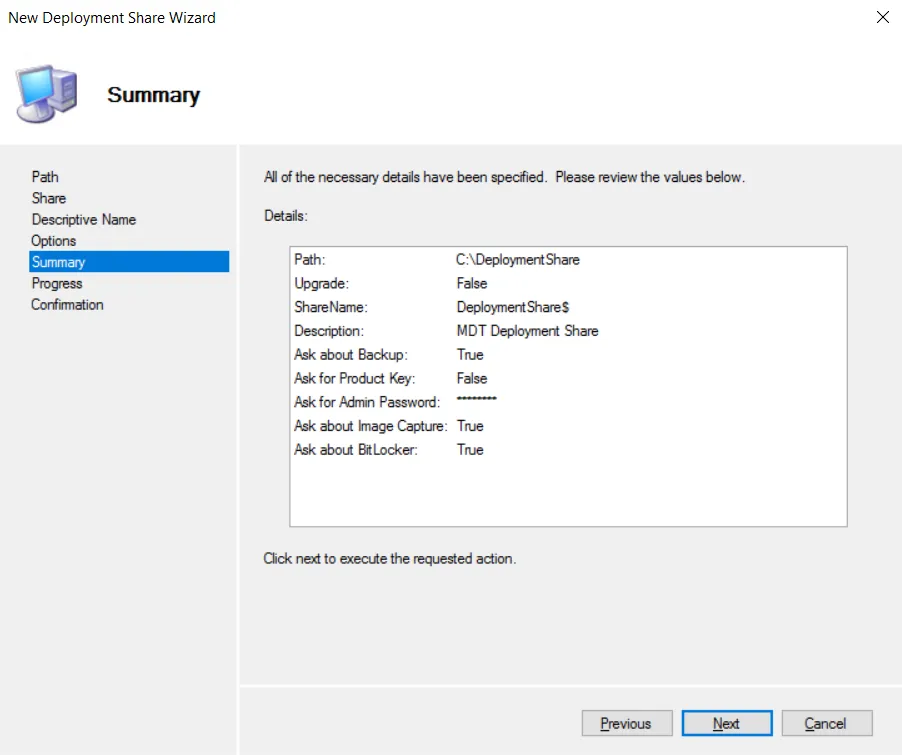
After that you just keep clicking “Next” until you reach the checkpoints. Clear all the checkboxes and click “Next” to continue creating the share.

After all these steps, review the final list of Deployment Share settings and wait for the process to finish.
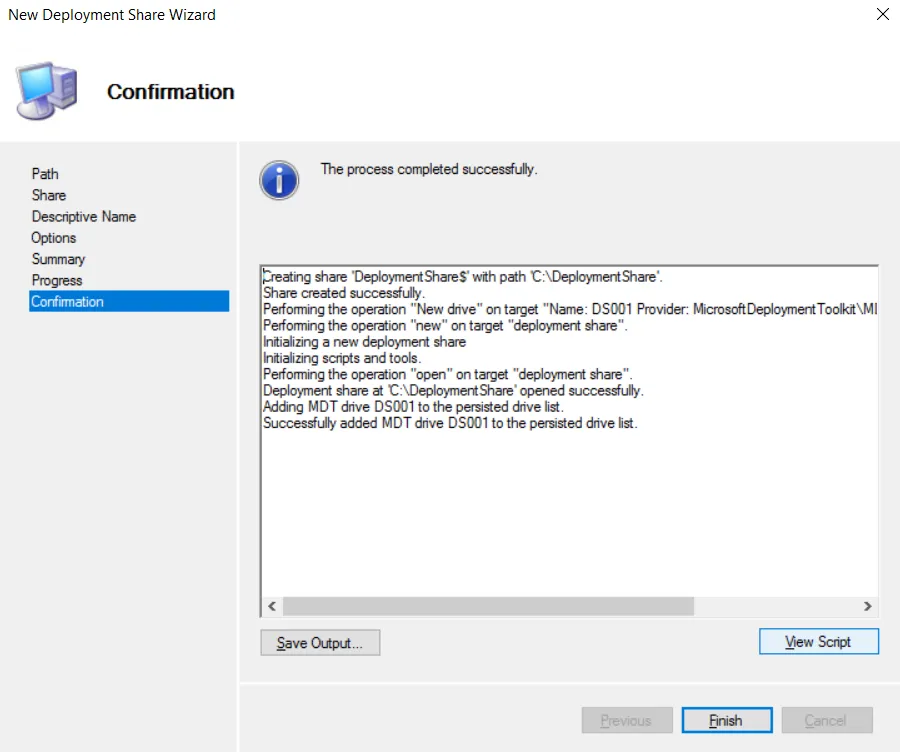
Then click “Finish” to complete the initial MDT setup. As a result, you’ll see the following file structure:
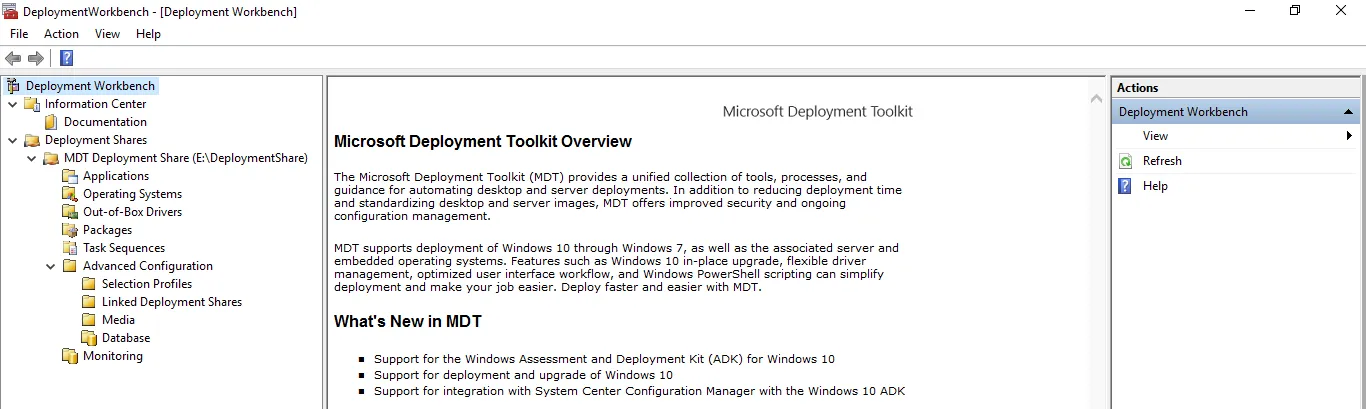
Congratulations, you have installed the MDT add-on on your Windows Server! The next article will explain how to import the install.wim image, how to modify the installation task, and how to inject drivers.