SSH (Secure Shell) is a network protocol that provides secure remote management and data transfer between computers. It is widely used by system administrators and developers for securely accessing and managing servers over untrusted networks. The protocol offers encryption, authentication, and data integrity, making it a reliable tool in modern IT infrastructure.
How It Works
SSH operates on a client-server model. The client application initiates a connection to the server, after which the user authentication process takes place. Authentication can happen in several ways:
- Password authentication: The simplest method, but not the most secure, since passwords can be intercepted by malicious software.
- Key-based authentication: More secure; it requires a key pair — a private key (on the client) and a public key (on the server).
- Two-factor authentication (2FA): Combines a password or keys with an additional factor, such as an SMS or a token, to increase the level of security.
After successful authentication, all data between the client and the server is encrypted using symmetric encryption algorithms such as AES, which protects it from interception.
SSH Capabilities
Remote Server Management
SSH lets you securely connect to remote systems and run commands as if you were sitting directly in front of the server. This is especially useful for system administrators who manage many servers from different locations.
File Transfer
SSH also supports secure file transfer between devices using utilities such as SCP (Secure Copy Protocol) and SFTP (SSH File Transfer Protocol). These tools protect files during transfer, preventing them from being intercepted and modified.
Tunneling and Port Forwarding
SSH tunneling allows you to create encrypted channels for transmitting data over untrusted networks. Port forwarding makes it possible to route traffic through an SSH connection, which can be used to bypass restrictions imposed on local networks.
Advantages of SSH
- Security: Offers a high degree of data protection thanks to encryption and multi-factor authentication capabilities.
- Universality: Supported by most modern operating systems, including Windows, Linux, and macOS.
- Flexibility: Lets you perform a wide range of tasks, from remote management to data transfer and creating VPN connections.
From Theory to Practice
Generating SSH Keys
- Open a terminal (Mac, Linux, or Windows).
- Paste the text below, replacing the email address used in the example with your own email address.
ssh-keygen -t ed25519 -C "example@domain.com"If you are using a legacy system that does not support the Ed25519 algorithm, use:
ssh-keygen -t rsa -b 4096 -C "example@domain.com"And don’t listen to those smart alecks who tell you that rsa keys are more secure than ed25519.
- Specify the path where your key will be created, or simply press Enter.
Generating public/private ed25519 key pair.
Enter file in which to save the key (/home/user/.ssh/id_ed25519):- Be sure to set a passphrase for the key; it will help protect your servers in case the key is compromised.
Enter passphrase (empty for no passphrase):
Enter same passphrase again: - After this, the key will be created and the following message will be printed to the console:
Your identification has been saved in /home/user/.ssh/example
Your public key has been saved in /home/user/.ssh/example.pub
The key fingerprint is:
SHA256:O+pZQGZevJOFlHLtGuHB8ffQ7p4LSwSGwSXgblJPDro example@domain.com
The key's randomart image is:
+--[ED25519 256]--+
|      .+==.      |
|     ..oB*.  .   |
|      B+*+= o .  |
|     O *o=.o +   |
|    o = So  . o  |
|     + ..o . .   |
|    E   +   o .  |
|       + . . + . |
|     .+     . +. |
+----[SHA256]-----+
By running the command
cat /home/user/.ssh/example.pubyou will see the value of the public key. Later on, we’ll add it to the list of trusted keys on the remote server and be able to connect to it using SSH.
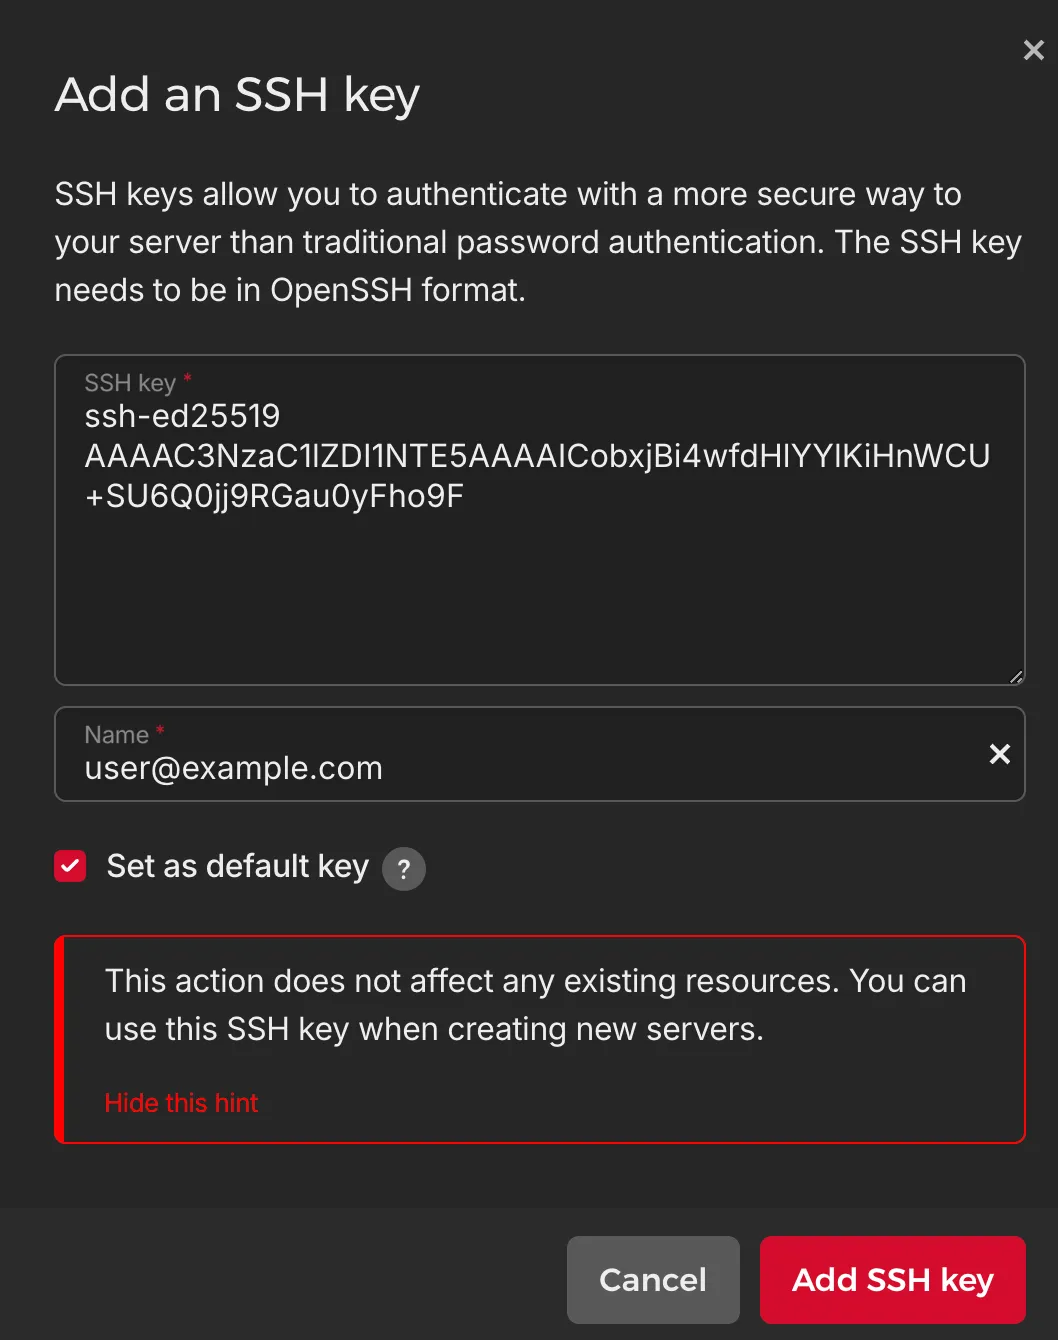
ssh-ed25519 AAAAC3NzaC1lZDI1NTE5AAAAICobxjBi4wfdHlYYlKiHnWCU+SU6Q0jj9RGau0yFho9F example@domain.com Adding the Public Key to the List of Authorized Keys on the Server
Most often you’ll be using SSH connections on Linux-like systems, so let’s look specifically at that case. You can add the key in several ways, which we’ll discuss next.
When Creating a Server in the Hosting Provider’s Control Panel
With any major hosting provider you can add your public key in the management console; as an example, here’s the German provider Hetzner.
Manually, by Editing the authorized_keys File
Use any text editor, for example nano or vim:
nano ~/.ssh/authorized_keysPaste the contents of your public key into this file and save the changes. Make sure the ~/.ssh directory has permissions 700 and the authorized_keys file has permissions 600:
chmod 700 ~/.ssh
chmod 600 ~/.ssh/authorized_keys
Common Mistakes
Permission denied (publickey).Check the permissions on the SSH key files on your computer. The private key should have permissions 600 and the public key 644. Such problems often occur when transferring keys to another machine via a text editor.
Also, when transferring keys through text editors, it’s important that there is a single empty line at the end of the private key file.

In the next article, I plan to cover secure SSH configuration.